8 Simple Steps to Make Beeswax Candles
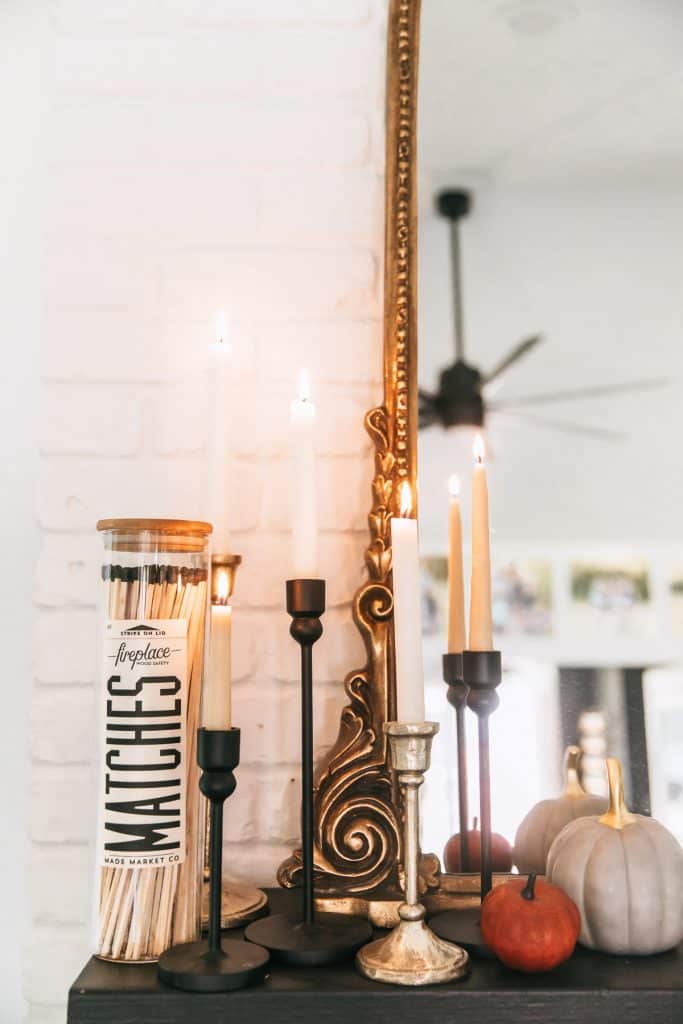
One of my favorite things about fall and winter is having candles flickering around our home. I love the ambiance and cozy feeling candles give but I don’t love all the toxic ingredients most candles release into the air we breath. Thankfully you can have both candles burning and clean air. I also just love the process of making candles at home. It’s also a fun project to do with your kids. So let’s go over the 8 simple steps to make beeswax candles and get that cozy vibe going!
Tools you’ll need
- raw beeswax (ask around from a local beekeeper or you can purchase beeswax pellets online)
- designated container to melt wax in
- stock pot to use as a double boiler
- container for the candle
- wicks
- essential oils if adding fragrance
The stinky on conventional candles
Most candles on the market are petroleum and oil based paraffin wax and are scented with artificial scents and fragrance. The toxins they release we inhale, yuck! They contains up to 11 toxic compounds and chemicals such as benzene and toluene. The wicks of all paraffin candles also produce soot which besides being toxic can stain. I could go on and on about the dangers of conventional candles but just know they are EXTREMELY toxic! They have recently been called the new second hand smoke because they are that dangerous. We don’t want that in our home!
Benefits of burning beeswax
On the flip side beeswax candles are not only safe but also beneficial. When pure beeswax burns it releases negative ions into the air. Particles floating around like dust and dander carry a positive charge, therefore the negative ions from the beeswax neutralizes them. So they naturally reduce indoor pollution. Beeswax candles are also stable to be stored at room temperature, other waxes will go rancid very quickly. Also their candle burn produces little to no soot like regular candles.
Beeswax candles are also a renewable resource, burn brighter and longer, drip very little if at all, and have a naturally sweet smell. Of course they are also safe for our families!
How to make beeswax jar candles
- Fill a large stock pot with a few inches of water and bring to a simmer.
- Place wax inside the designated wax container and add to stock pot (you’re essentially using a double boiler method, do NOT put your wax on direct heat).
- Completely melt the wax (I stir with a bamboo skewer so I can discard it after).
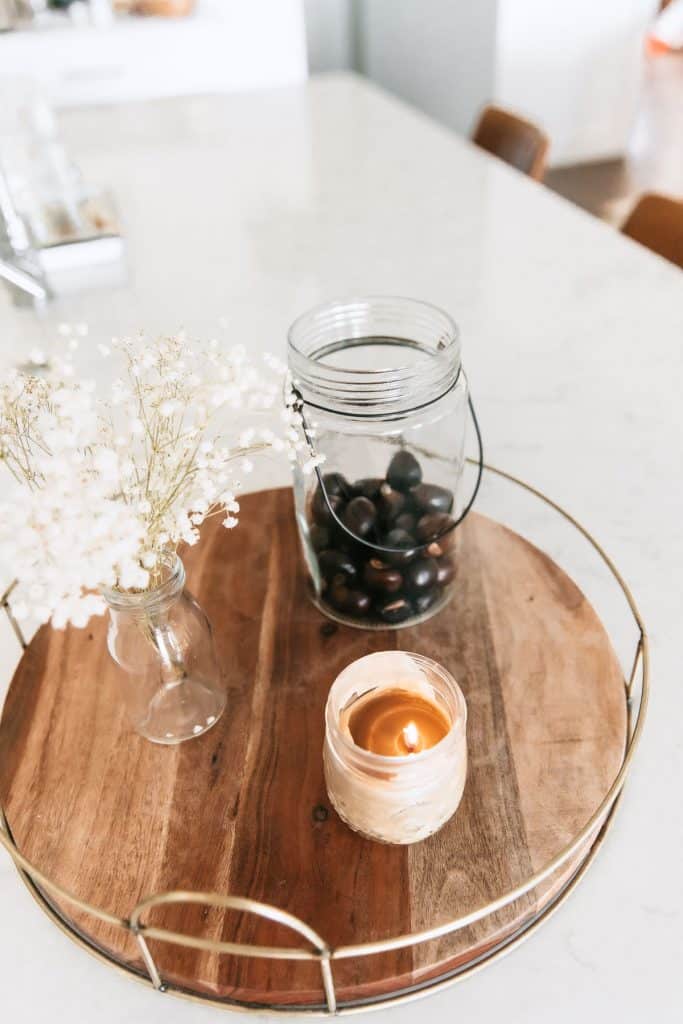
- Take the appropriate sized wick for your jar and with a hot glue gun put a pea sized amount of hot glue on the bottom in the center of the jar. You can also use wick stickers to attach the wick to the jar. If you are doing a multi wick candle make sure to space them equally. I like to use a small mason jar or a glass jar or crock I found thrifting.
- Secure the top of the wick either with a clothes pin or wrapped around a pencil so it doesn’t slide down into the wax as the wick gets hot.
- Slowly pour the slightly cooled but still melted wax into the jar. See tips below.
- Allow them to cool slowly. If they cool too fast tunneling can occur.
- If you are going to add a scent you can add drops of essential oils into the hot wax before you pour it. I don’t add oils to mine because it takes a lot of essential oils to get a strong scent. I’d rather have them diffusing and get more bang for my buck.
Troubleshooting tips on how to make beeswax candles
One of the biggest issues I had in the beginning was my wax would tunnel around the wick or a huge crevice would form. Once I did some reading and trial and error, I discovered the problem. I was pouring my wax when it was too hot. You want to pour your wax when it just forming the thin layer of cooling wax around the edges and top or 155-160 degrees Fahrenheit. Once I started pouring my wax at cooler temps I’ve never had this issues again.
Always make sure the vessel you are pouring into is room temperature as well. If it is too hot or too cold it can cause your wax to have problems.
If your wax isn’t burning close to the edge it’s an issue with the wick. It is important to use the correct wick size. Not burning to the edges may mean you need a thicker wick. It’s dependent on the container size. I have a couple different wick sizes and know which ones work well for my vessels. You want to utilize all the wax so your candles to have the longest burn time possible.
It is better to get a wick that leaves a little wax on the edges as it burns down than to have a wick that causes the outside of the jar to get extremely hot. If the container is too hot to touch or the wax is completely melted all around you may need a smaller wick. You can always melt down excess wax that is left over to reuse.
Another tip is to have designated candle making equipment. I use the same pots every time, use a disposable bamboo skewer to stir and paper towels for clean up. I learned my lesson the hard way the first time I made these candles and ruined good pans 😉
Now you’re ready to make homemade beeswax candles!
I’ve been making my own beeswax candles for years and they are a staple in our home all fall and winter. I love the coziness they give! I also feel good knowing they are safe for my family. There are so many options and variations you can make taper and pillar candles as well. There are also beeswax sheets you can buy and roll candles which is so easy. I hope these simple steps to make DIY homemade beeswax candles encourages you to give it try in your home! With the holidays around the corner homemade candles make great gifts ideas!
Pin it for later
This post contains affiliate links, which means I make a small commission that helps my family at no extra cost to you. I appreciate the support! See my full disclosure here.