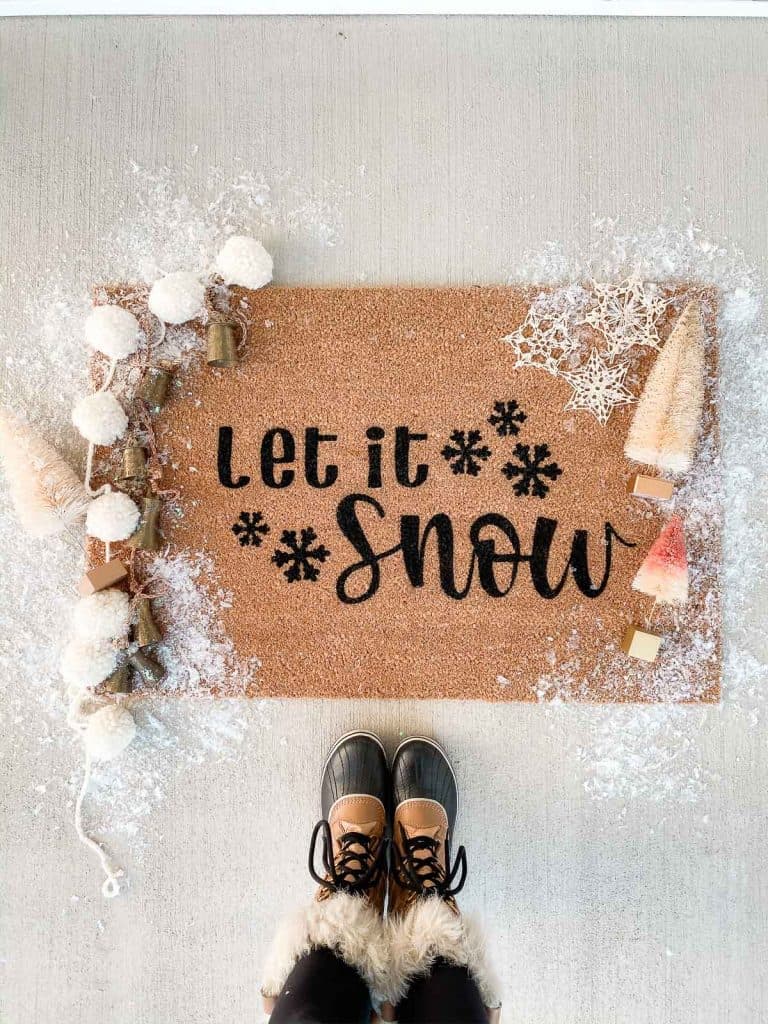
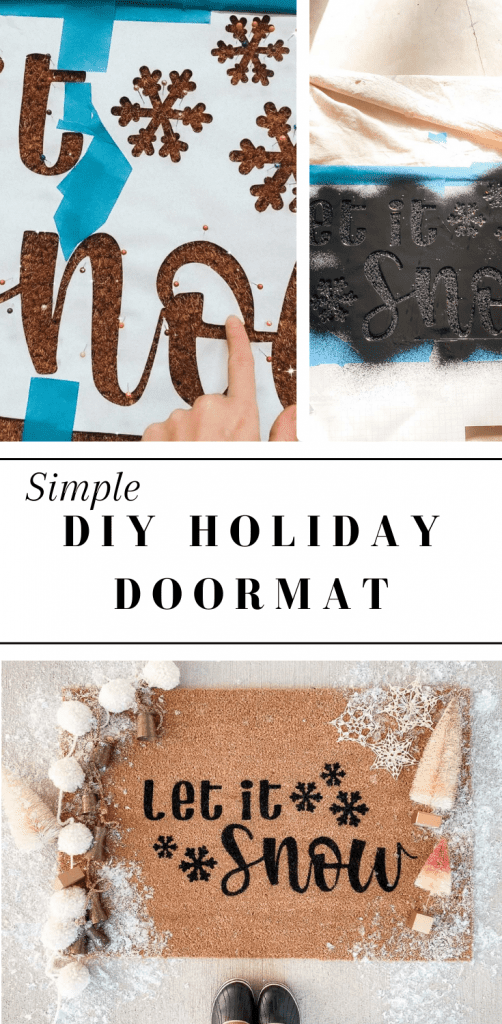
DIY Holiday Doormat in 8 Simple Steps
I’m not typically a big DIY gal unless it’s simple or fun and this doormat is both! This project is very simple and can be switched out for different holidays and seasons. Follow along as I show you how I made this simple DIY holiday doormat.
Supplies you’ll need to make the doormat
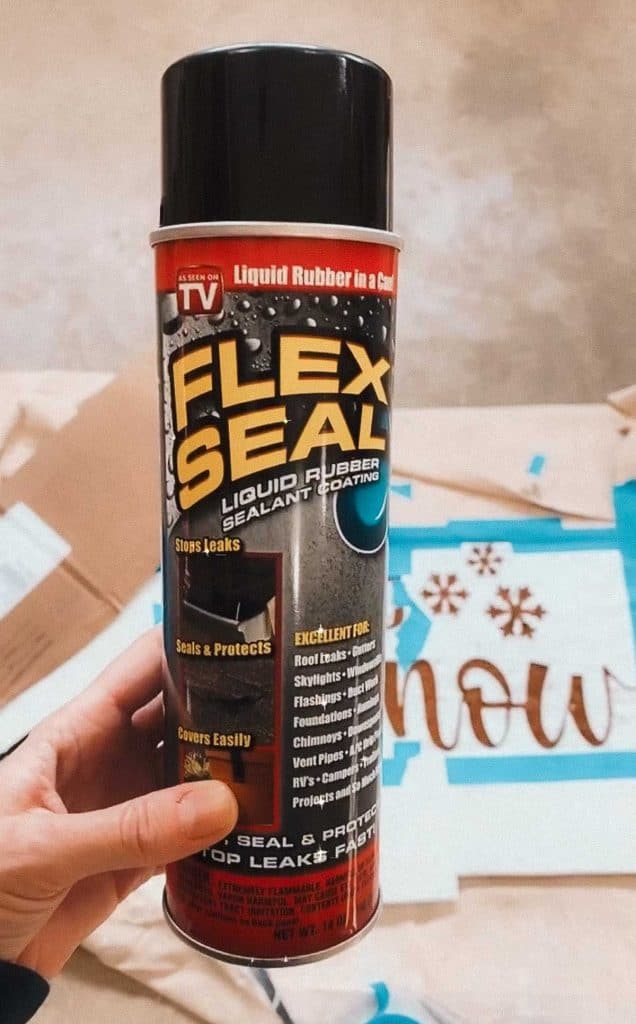
- Flex Seal
- Stencil (I had a friend make one with her Cricut but you can also but any stencil you want to use)
- Push Pins
- Painters tape
- Lint roller
- Cricut (optional)
Why use Flex Seal and not spray paint?
Flex Seal is waterproof and creates a very crisp edge. The texture is rubberlike and holds up well in the winter outdoor elements. While regular spray paint will work the results are much better and longer lasting with Flex Seal.
Steps to make a holiday doormat
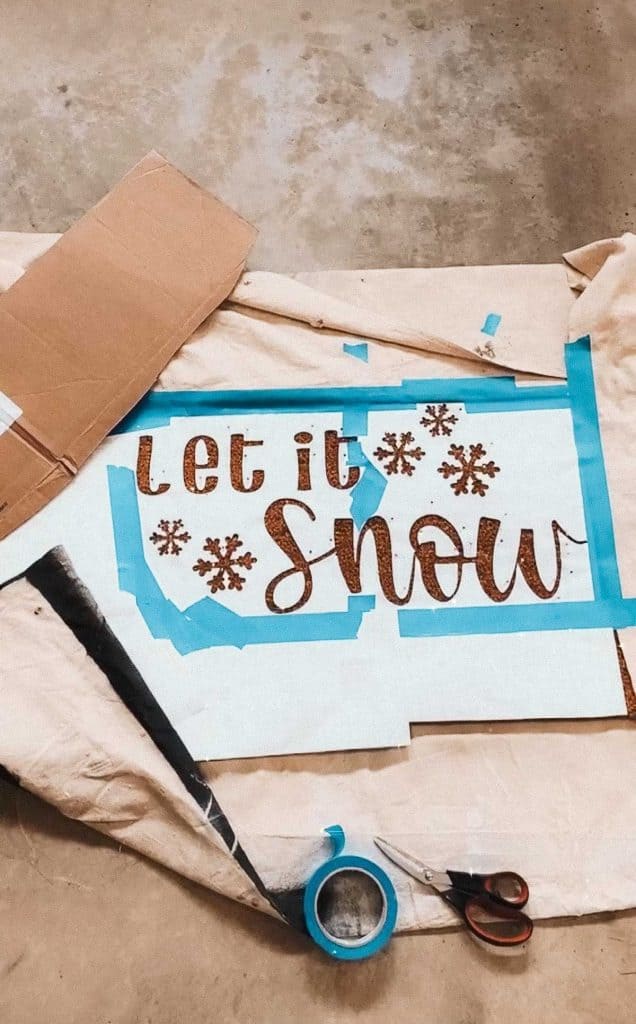
- Start with your mat and shake it out well. Take a lint roller and roll over it in all different directions. You want to remove any excess fibers that can mess up your design.
- Lay out your stencil how you want it on the mat. If you used a Cricut stencil it will stick a little but not enough. Try to set it in place and stick it only once or you’ll loose all the adhesive. You can also use any stencil you can find. I found one that would work HERE. Etsy also has Cricut stencils you can custom order.
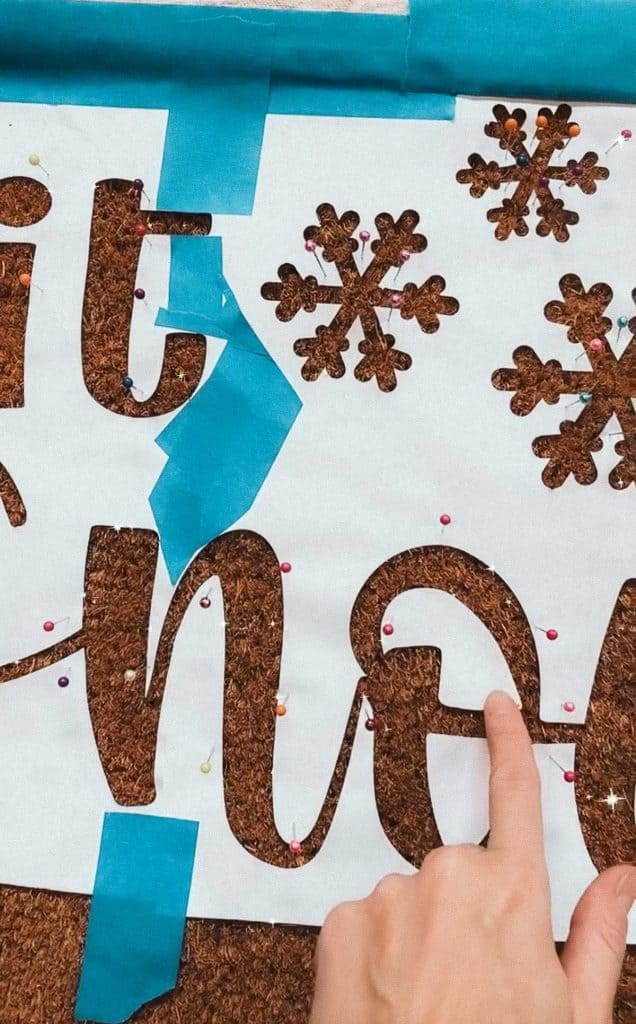
- Take LOTS of push pins and anchor down all the edges or any small areas. Think about not getting spray under the stencil at all. Place push pins anywhere you need to to secure the stencil.
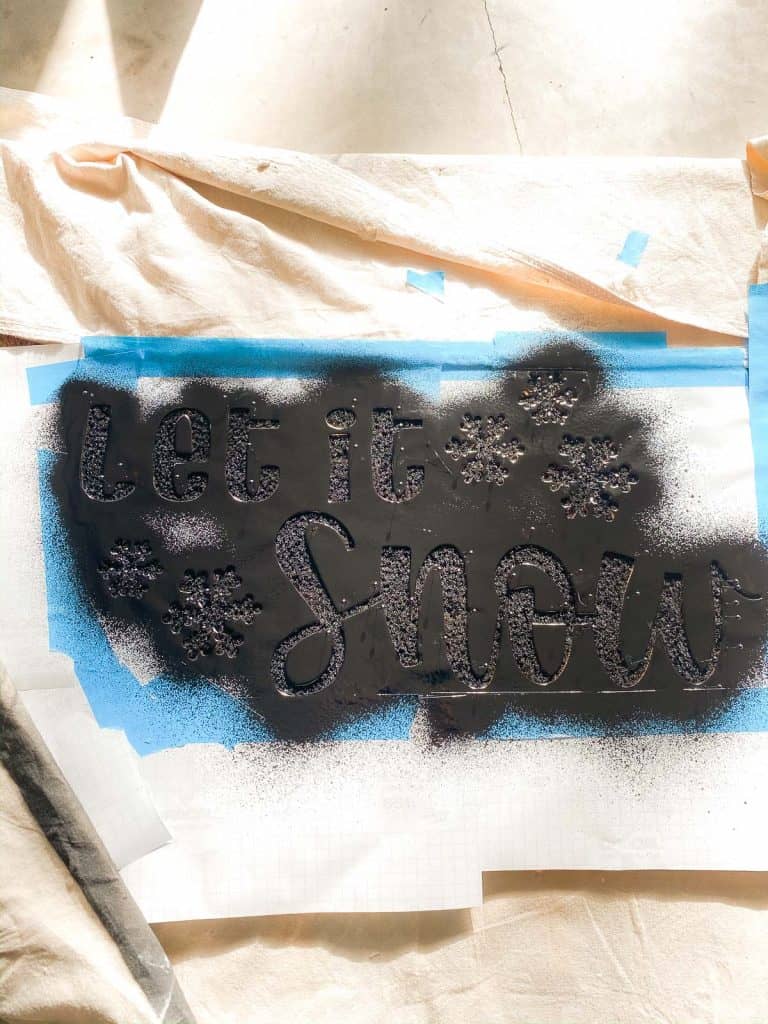
- Use painters tape and a drop cloth or paper towels to cover the remaining part of your mat. You want everything that will not be sprayed covered.
- Shake your Flex Seal well and spray STRAIGHT ON, NOT AT AN ANGLE. This is crucial or you will get under the stencil.
- The Flex Seal covers well and I only needed one good coat. If you need to go over it again you can. Just make sure you can well around the edges so the lines of the text or image is clean and crisp.
- Let is dry completely.
- After it is dry remove your push pins and gently lift your stencil off and discard. It’s finished!
- Let dry for 24 hours before using.
Holiday doormat text ideas
- Let it snow
- Merry everything
- Home for the holidays
- Merry and bright
- Merry Christmas ya filthy animal
- Probably watching Christmas movies
- Baby it’s cold outside
- Jesus, the reason for the season
You can also create shapes like a snowflake, Christmas tree, wreath, etc. If using the Cricut for the stencil you can play around with different fonts. There are endless possibilities for this simple DIY holiday doormat so have fun with it!
Pin it for later
This post contains affiliate links, which means I make a small commission that helps my family at no extra cost to you. I appreciate the support! See my full disclosure here.