No Knead Homemade Sourdough Bread
I’m sure you’ve heard all about the homemade sourdough bread craze over the last year. Remember when flour was impossible to find anywhere?! It’s for good reason, homemade sourdough bread is AMAZING!! I actually started my very first starter in January 2020 before the big craze hit. Her name is Rosie (yes you need to name your starter 😉 ) and she’s stronger than ever. I’m so happy and proud to say that starter is now almost 2 years old and has made us over 200 loaves! I’ve also shared my starter with many friends and family. Think of amount of loaves she’s made all together! Making homemade sourdough bread brings me so much joy, I love the entire process! This no knead homemade sourdough is simple and doesn’t require a lot of hands on time.
Health Benefits
Most people don’t realize homemade sourdough bread is a fermented food. Fermented foods contain pre and probiotics and are extremely beneficial for gut health. Homemade sourdough is a great way to add a fermented food into your diet. Traditional sourdough fermentation relies on “wild yeast” in the air and lactic acid bacteria (lactobacilli) that are naturally present in flour to leaven the bread instead of store bought yeast.
People who are gluten intolerant (not celiac disease) often can tolerate homemade sourdough just fine because the grains are fermented. The fermentation process increases acidic conditions in sourdough and helps produce enzymes that partially break down proteins, including gluten.
Additionally, homemade sourdough bread is high in fiber. Most Americans get dramatically less fiber than needed. It is also a great source of nutrients like selenium, folate, calcium, iron, potassium, magnesium, and protein. These nutrients are readily absorbed by the body due to the way they interact with the lactic acid bacteria. Sourdough is also filled with antioxidants.
Sourdough Starter
You need to have a sourdough starter in order to make homemade sourdough bread. Thankfully it’s very simple to make. All it takes is takes flour, water and a lot of patience. I followed the starter recipe from Foodbod Sourdough when I got started.
Sourdough Bread Recipe
Ingredients
- 700 grams 78-80 degree FILTERED water
- 200 grams fed and active sourdough starter
- 850 grams unbleached all purpose flour, King Arthur is my favorite
- 150 grams whole wheat or high protein bread flour, I use Janie’s Mill***
- 20-30 grams of salt, adjust to your liking
- 50 grams filtered water
- white rice flour for dusting
Tools you’ll need
- Banneton proofing basket
- Bread scraper
- Thermometer
- Scale
- Scoring blade
- Parchment paper
- Ceramic or cast iron pan with lid
Instructions
In a large bowl add 700 grams of the lukewarm water with 200 grams starter. Mix gently until water becomes milky. You will want to use a kitchen scale for all measurements. I also use this thermometer.
Add 850 grams all purpose unbleached flour. I have found after over 200 loaves that King Arthur all purpose flour produces the best result. If you use a different brand make sure it it UNbleached.
Add 150 grams high protein bread flour. ***You can also substitute whole wheat flour.
Mix together with your hands until all dry flour isn’t visible.
Cover with a tea towel and let rest 30 minutes.
Combine 50 grams filtered water and 20 grams salt, set aside.
Once the 30 minutes is up add the salt water to the dough and combine with a squeezing and twisting motion to incorporate the salt throughout.
Cover with tea towel and let sit for 30 minutes.
Pulls and Folds
Now it is time for your first set of pulls and folds. Get your hands wet and grab one side of the dough and pull it all the way across the dough to the other side and tuck it down. Do this 4 times all the way around your dough. Cover and let rest 30 minutes.
You will continue to do the pulls and folds every 30 minutes for 3-4 hours. Over time your dough will get tighter and harder to pull and will start to become a marshmallow consistency. Your proofing time will vary depending on the temperature and humidity in your home and what brand of flour you used.
After 3-4 hours is up, place your dough on a well floured counter. Use a dough scraper to cut loaf in half (this recipe makes 2 loaves). With floured hands gently form your dough into loose balls a few inches apart and cover with the towel for the final rest. This can be anywhere from 60-90 minutes depending on the temp and humidity in your house. My dough is ready much quicker in the summer than in the winter.
At this point you will start to see it rise. Flip your dough over with the scraper and continue folding it over onto itself. You are trying to create tension.
Once your dough is rounded flip it over again with the scraper. Push and pull it maintaining the circular shape. Again you’re creating tension. Slide the scraper under the dough ball and place it smooth side down into a well floured banneton. You can also use a large bowl with a well floured tea towel. You want to use white rice flour to prevent sticking. This is a very important step, do not skip it! Do the same with the second loaf.
Finally cover your bread and place in the refrigerator overnight. This step can not be skipped. It is the final fermentation.
Ready to Bake
The next morning your bread will be ready to bake. Preheat your oven to 450 degrees along with your dutch oven. Place parchment paper on the counter and flip your dough onto it with the side that was at the bottom of the banneton facing up.
Score the dough with a scoring blade. Carefully lift and place the parchment paper and dough inside your preheated dutch oven. Decrease your oven temp to 425 degrees. Put the lid on and bake in the oven for 30 minutes. Remove the lid and bake for an additional 10 minutes.
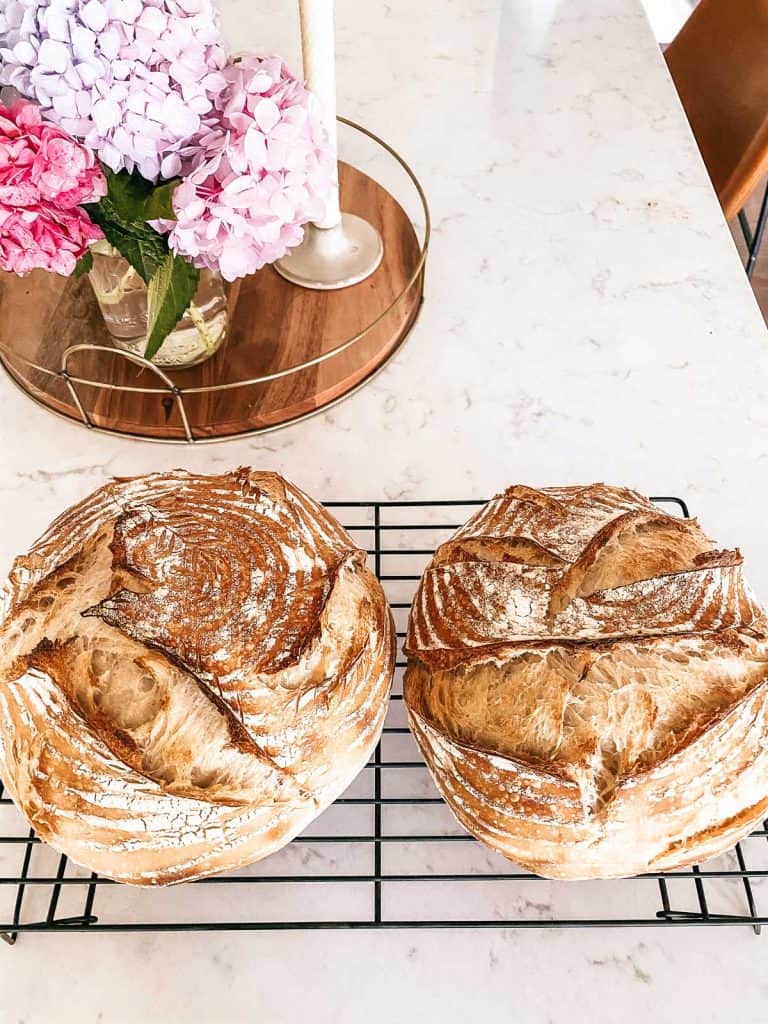
Remove your bread from the dutch oven and place on a cooling rack. Allow dough to cool for 45-60 minutes. If you cut into it too early it can cause the bread to become gummy.
Put on your favorite toppings and enjoy!! Avocado toast anyone? My kiddos love a little cinnamon and sugar sprinkled on top, and of course using it to make french toast. It’s also an amazing side for soup. I love hearing your sourdough stories so please share with me if you make it!

Winter update
In the cold winter months I can’t feed my starter first thing in the morning and have it be ready to start the dough by the afternoon. Instead, I feed it late at night before I go to bed and place it in the oven with the light on to keep it warmer than just sitting on the counter. I wake up early and start the process in the morning once my starter is bubbly and active. If you live in a warm climate you should be fine to make it the regular way.
This post contains affiliate links, which means I make a small commission at no extra cost to you. See my full disclosure here.